5 boxes of Crayons
I decided to try out a DIY craft that I’d seen on Pinterest a couple times to give to dad as a Christmas gift. Having just retired from teaching, I figured he would like the school-relation that this piece takes on.
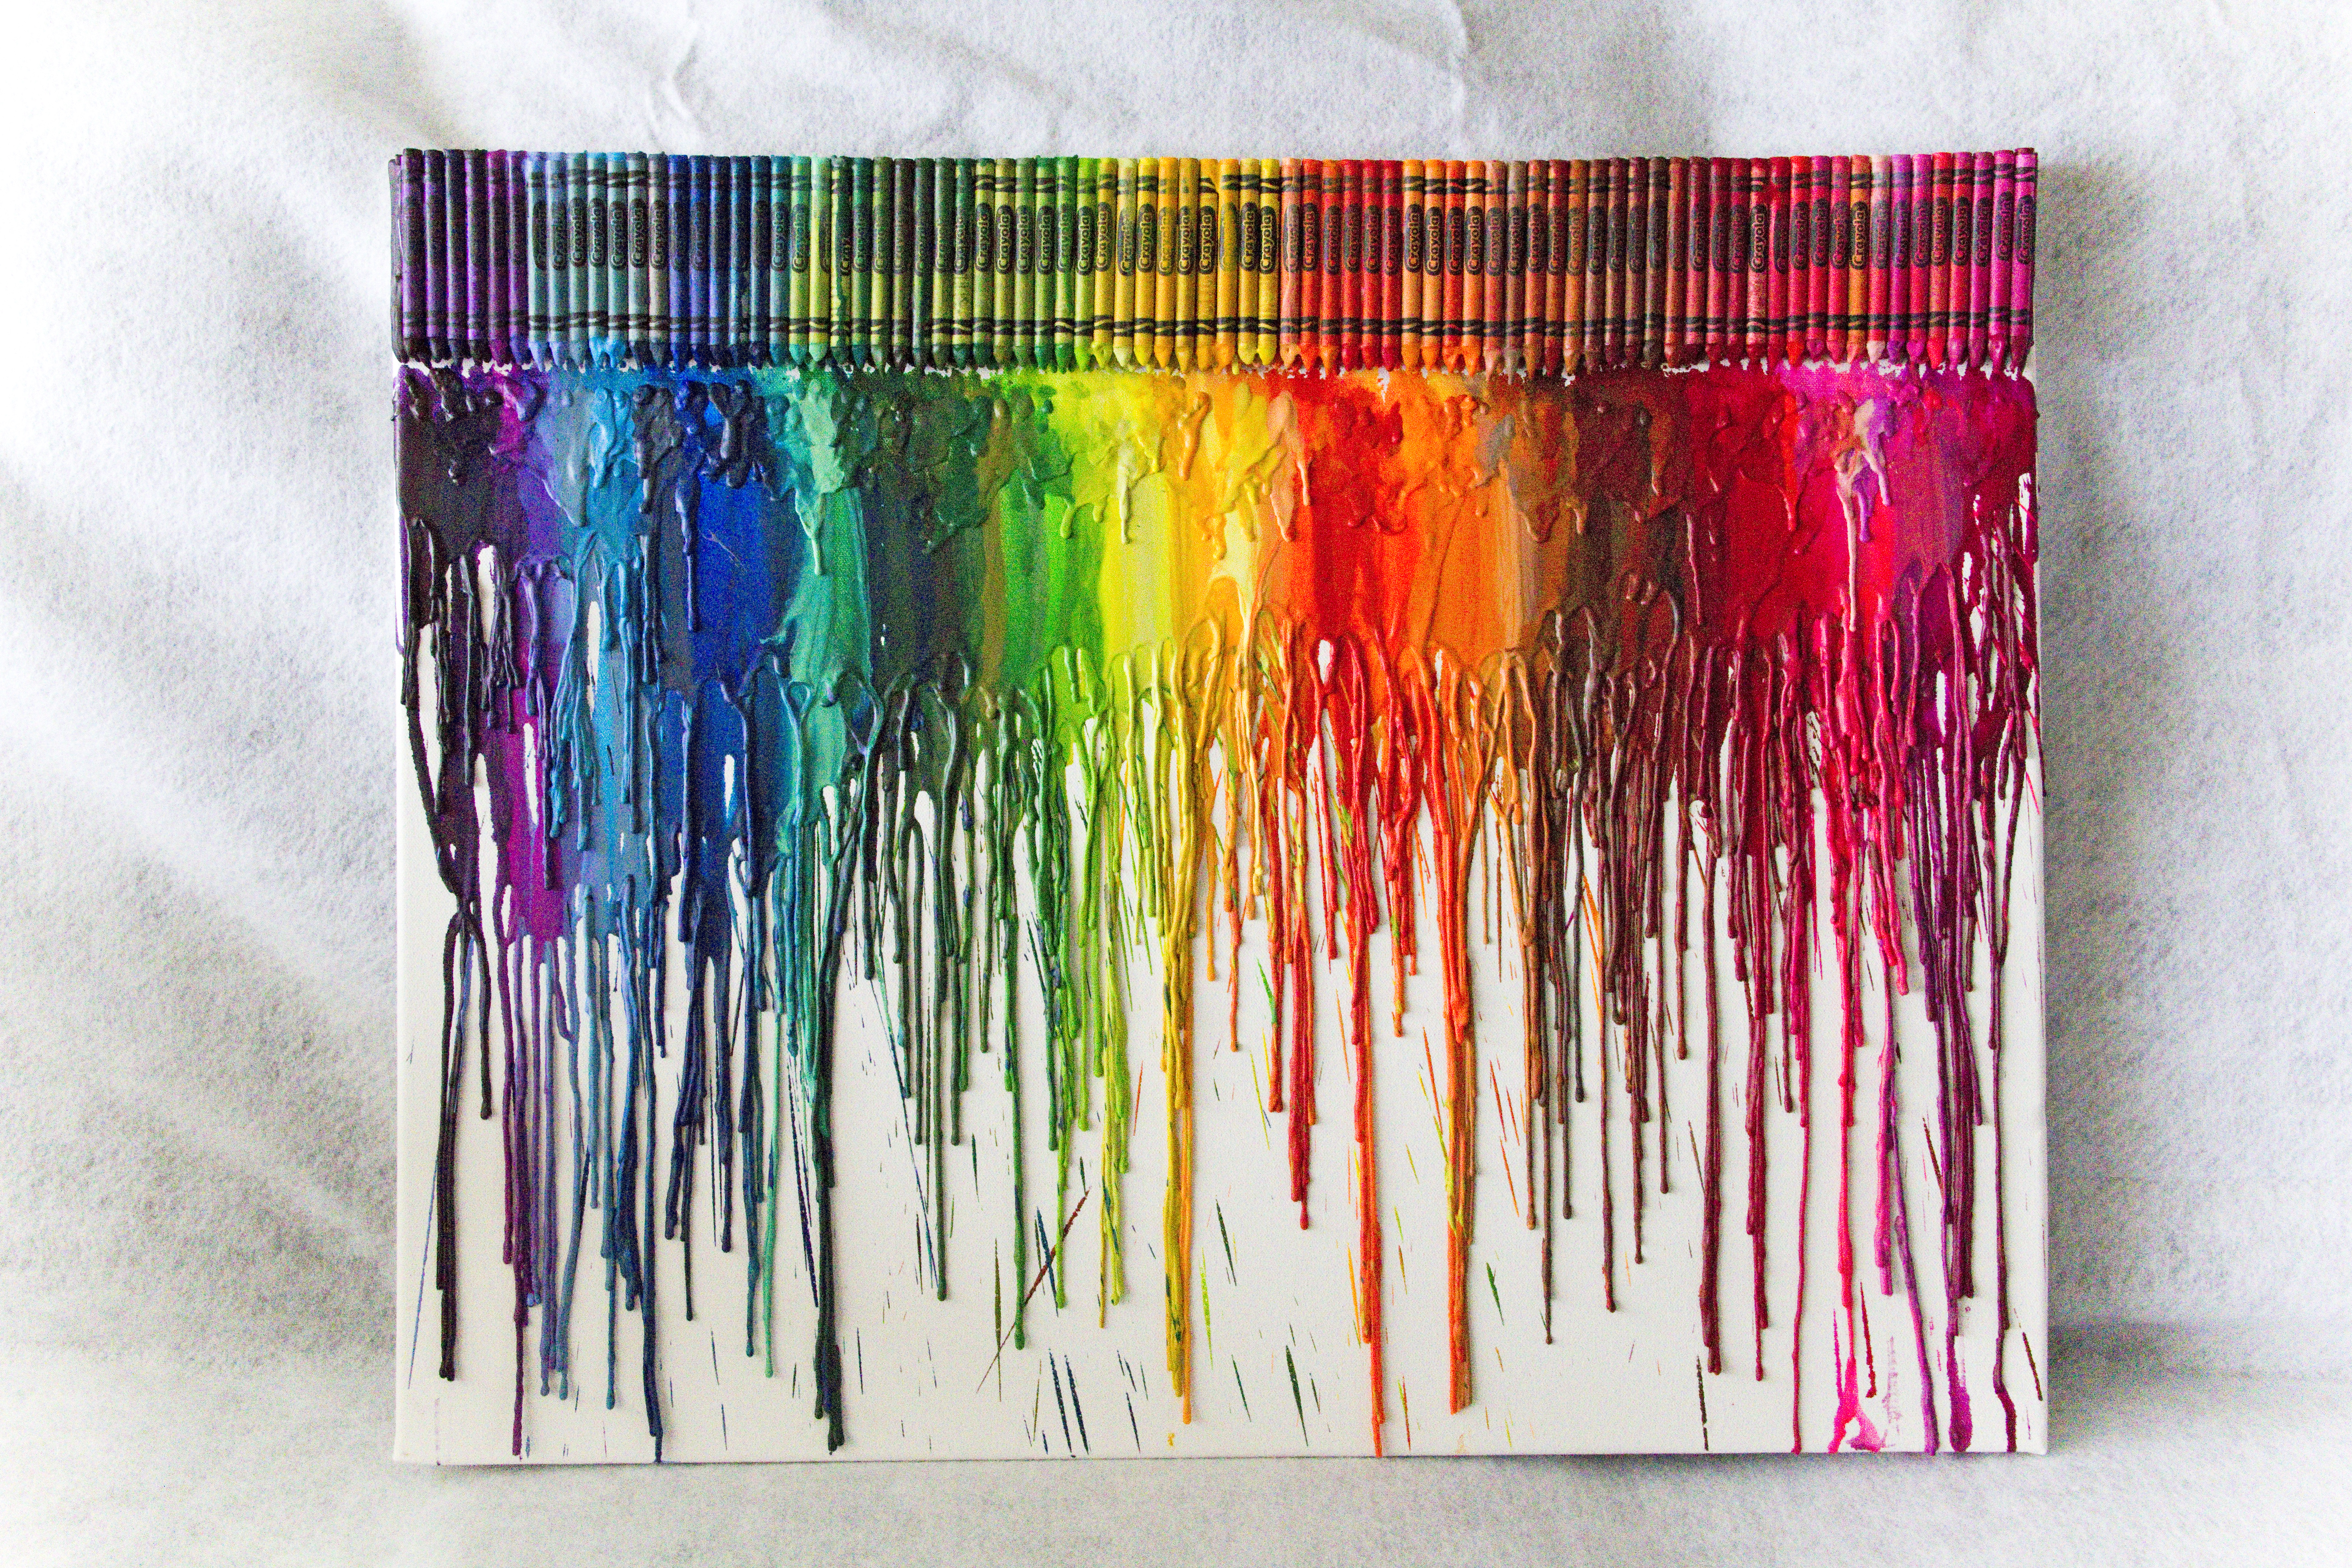
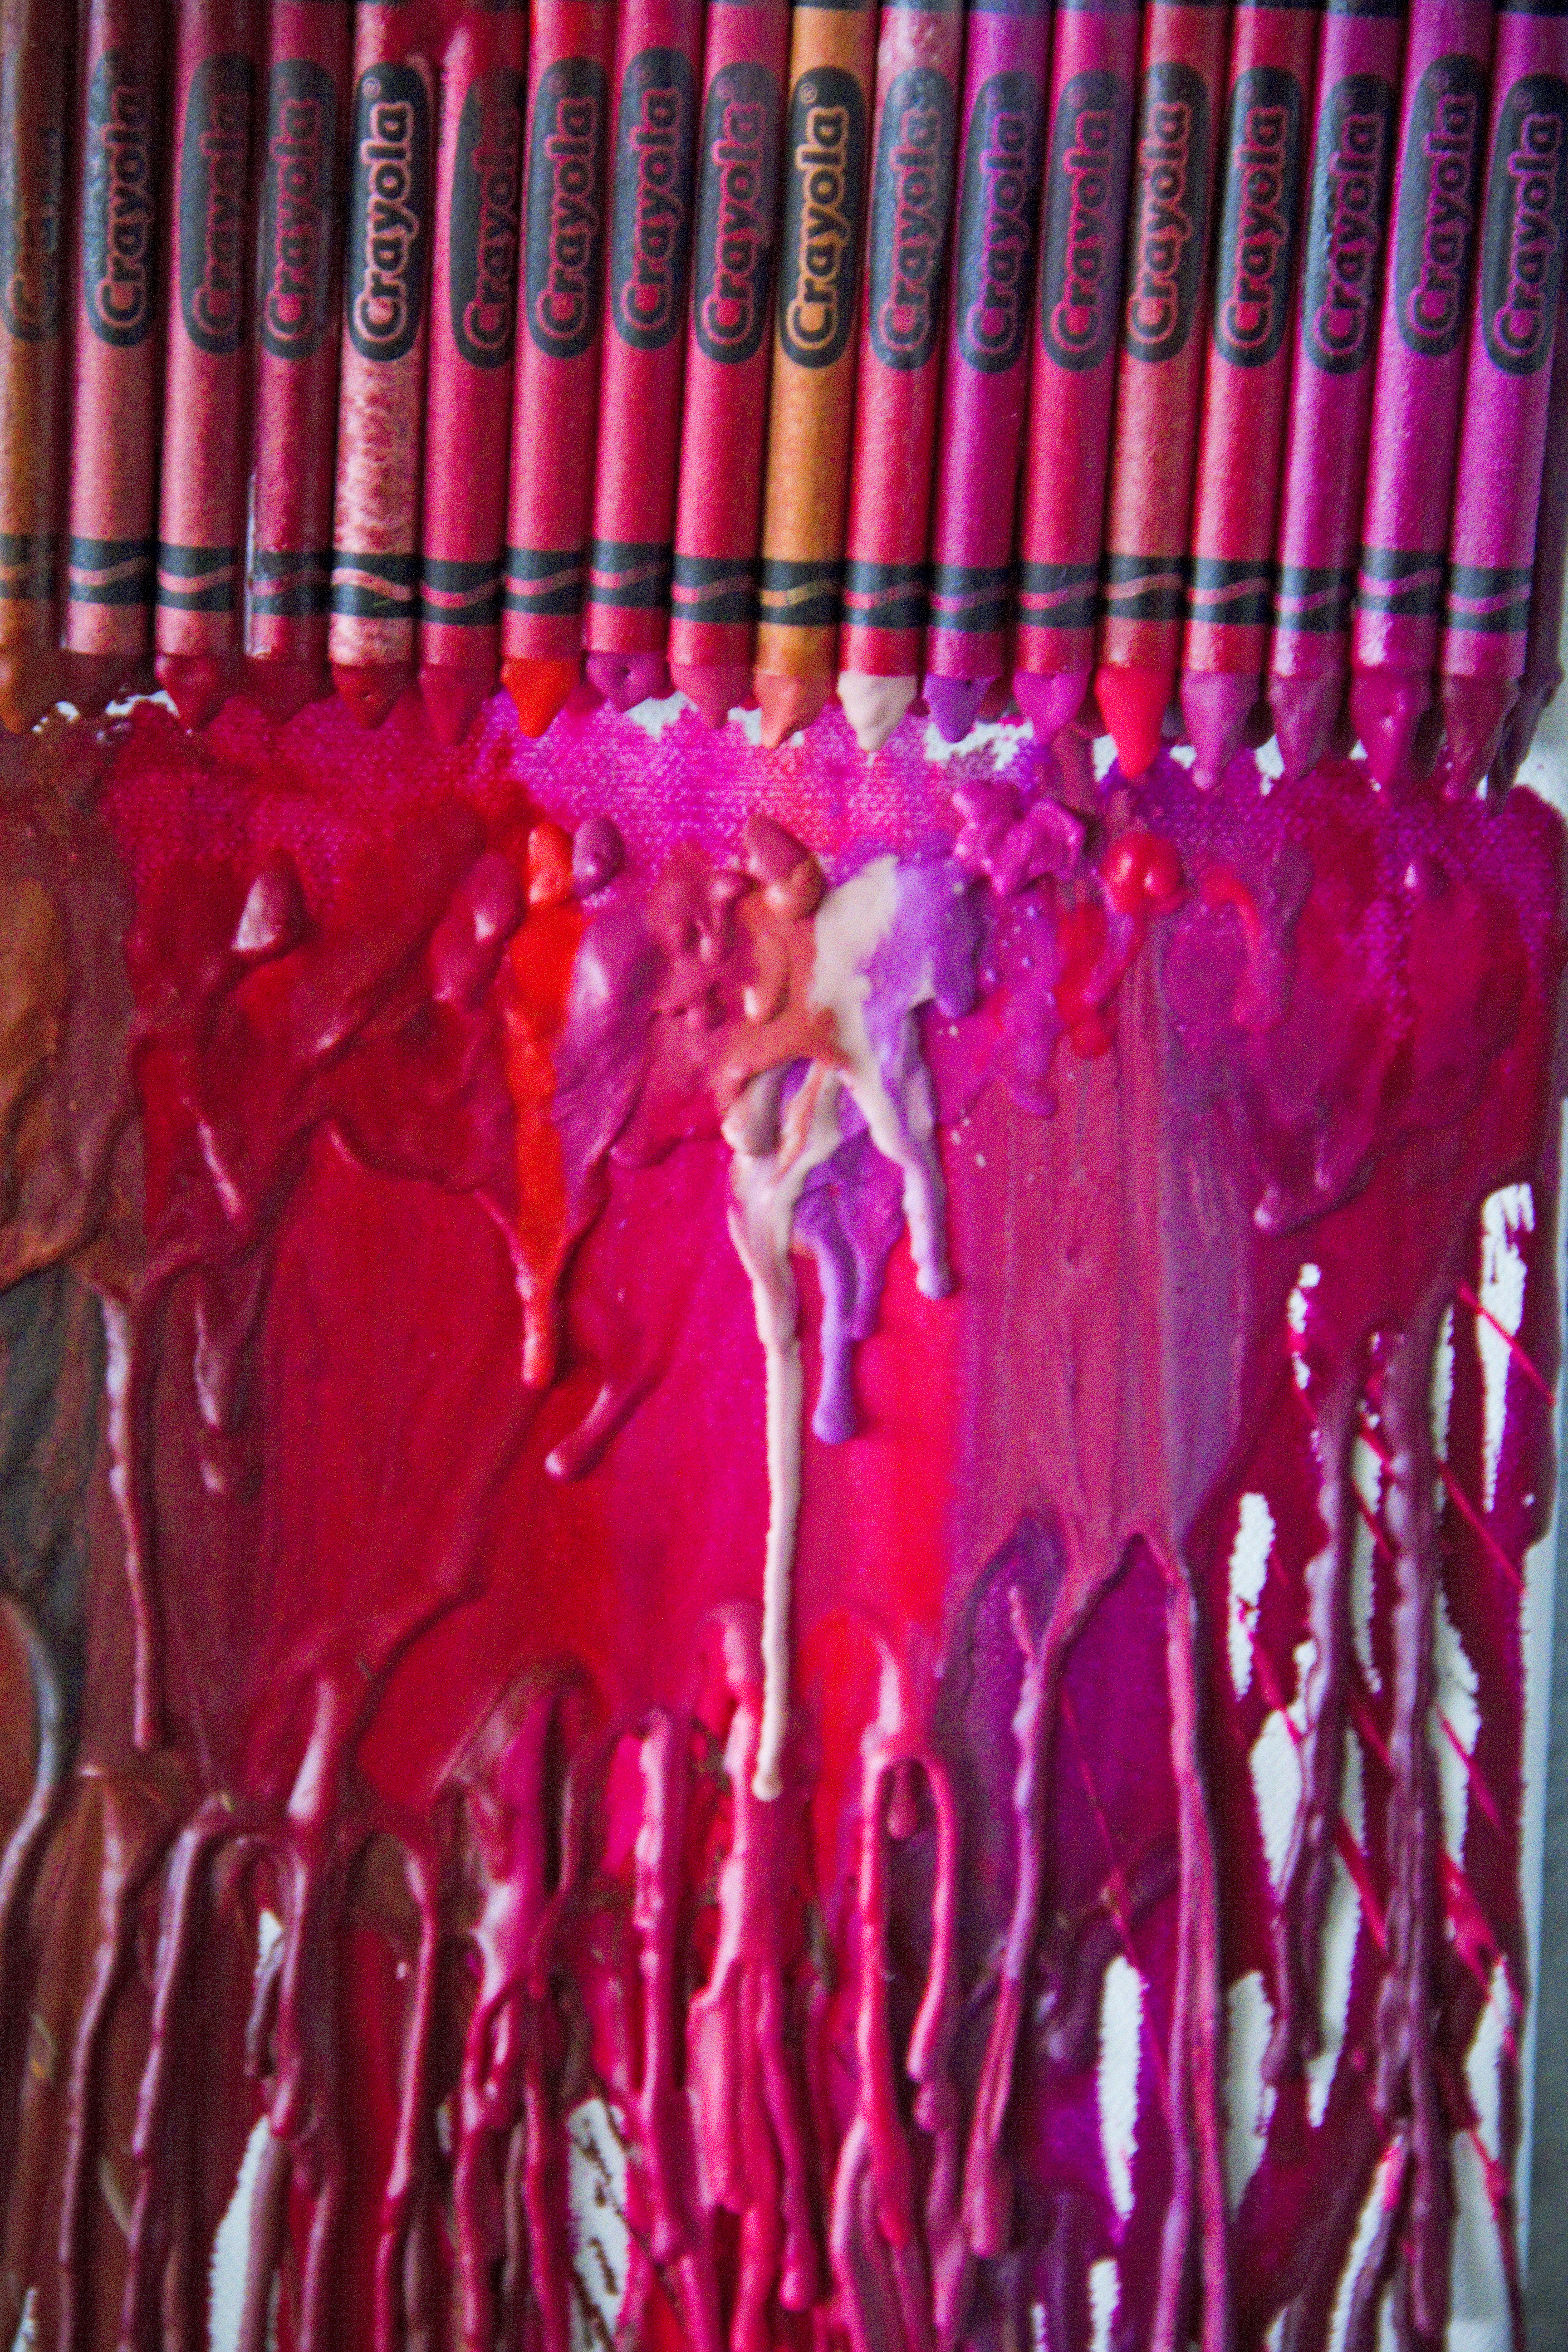
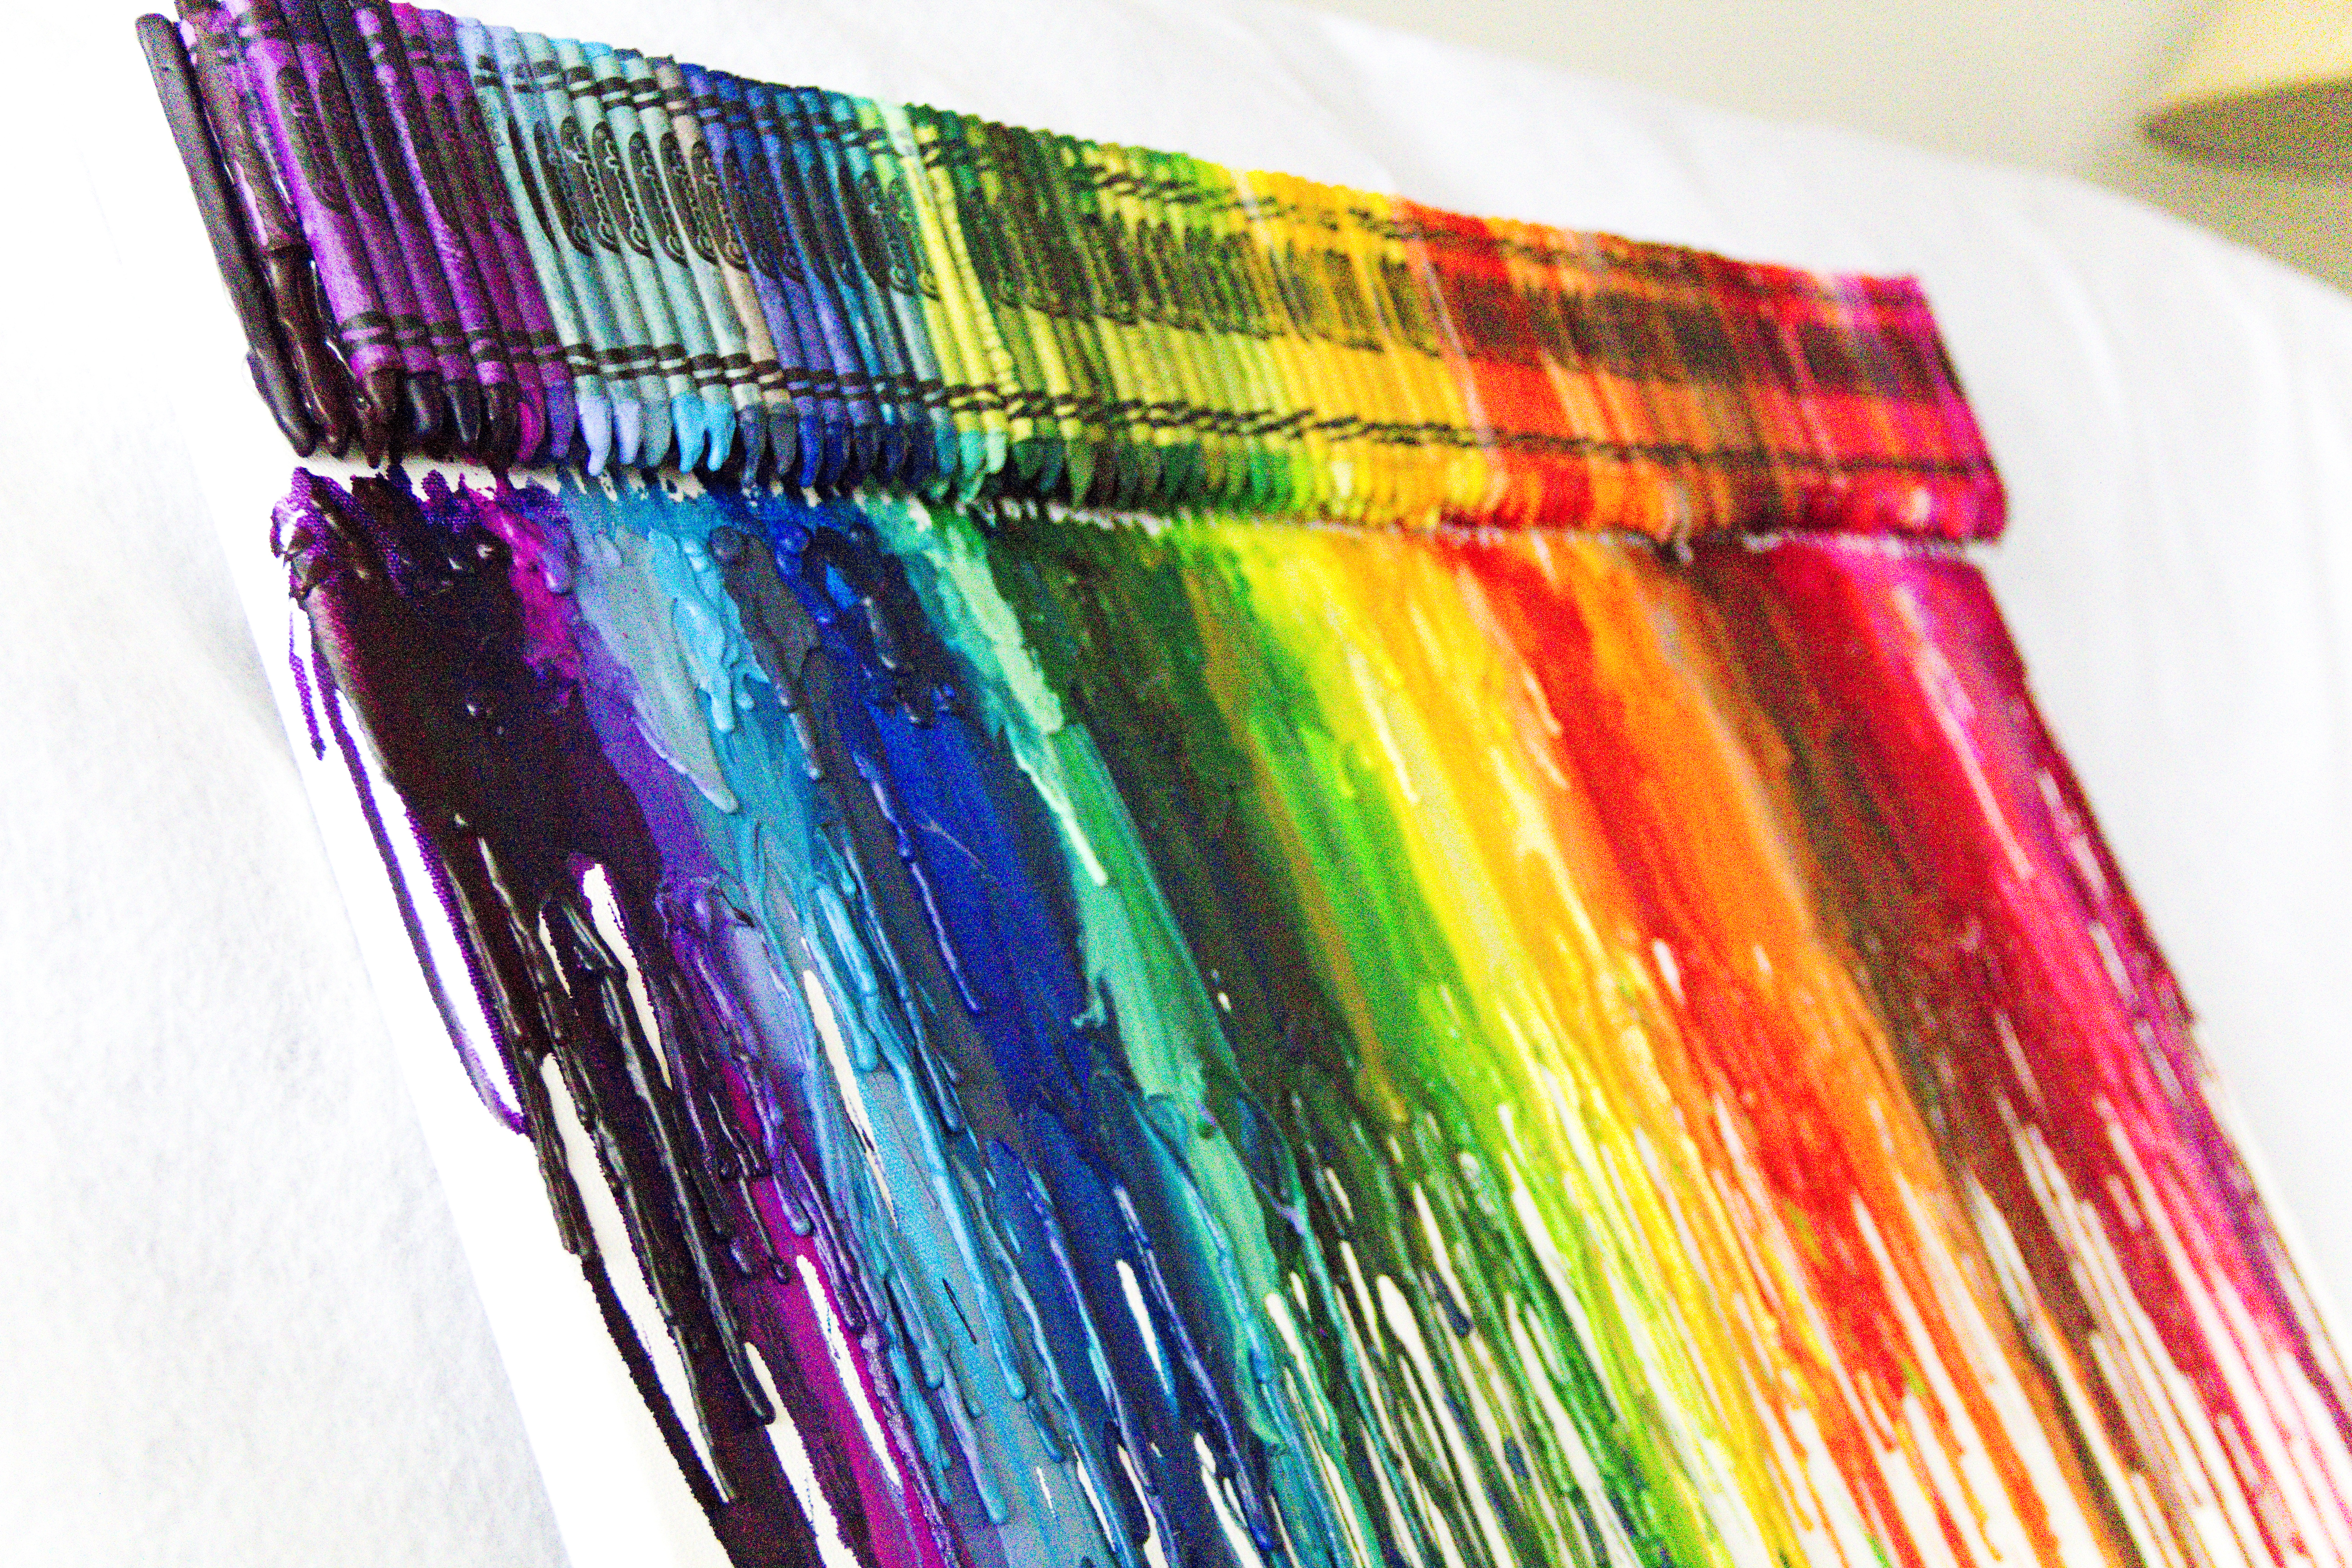
The first task was to get enough boxes of crayons so that I could make three layers of melted goodness. Once purchased, I had to separate them all out on a long, even workspace to get them in rainbow order. I then stripped all the crayons on the lowest level of their cover and hot glued them to the canvas.
Once they were glued on, I took a hair dryer on high heat and started the melting process. The trick on this portion is to figure out how exactly to hold your dryer. While every hair dryer is different, I think a couple generalities can be assumed:
- You don’t want to flick your hand back and forth like you do when you’re drying your hair – or maybe only I do this. Either way, it doesn’t let the crayon get melty as quickly, and it tends to spray what does melt sideways instead of directly down.
- You want to keep the face of the dryer at least 3″ from the crayon, otherwise they heat too quickly.
- You want to start at the bottom of the crayon and work your way up, and also do it in small groups.
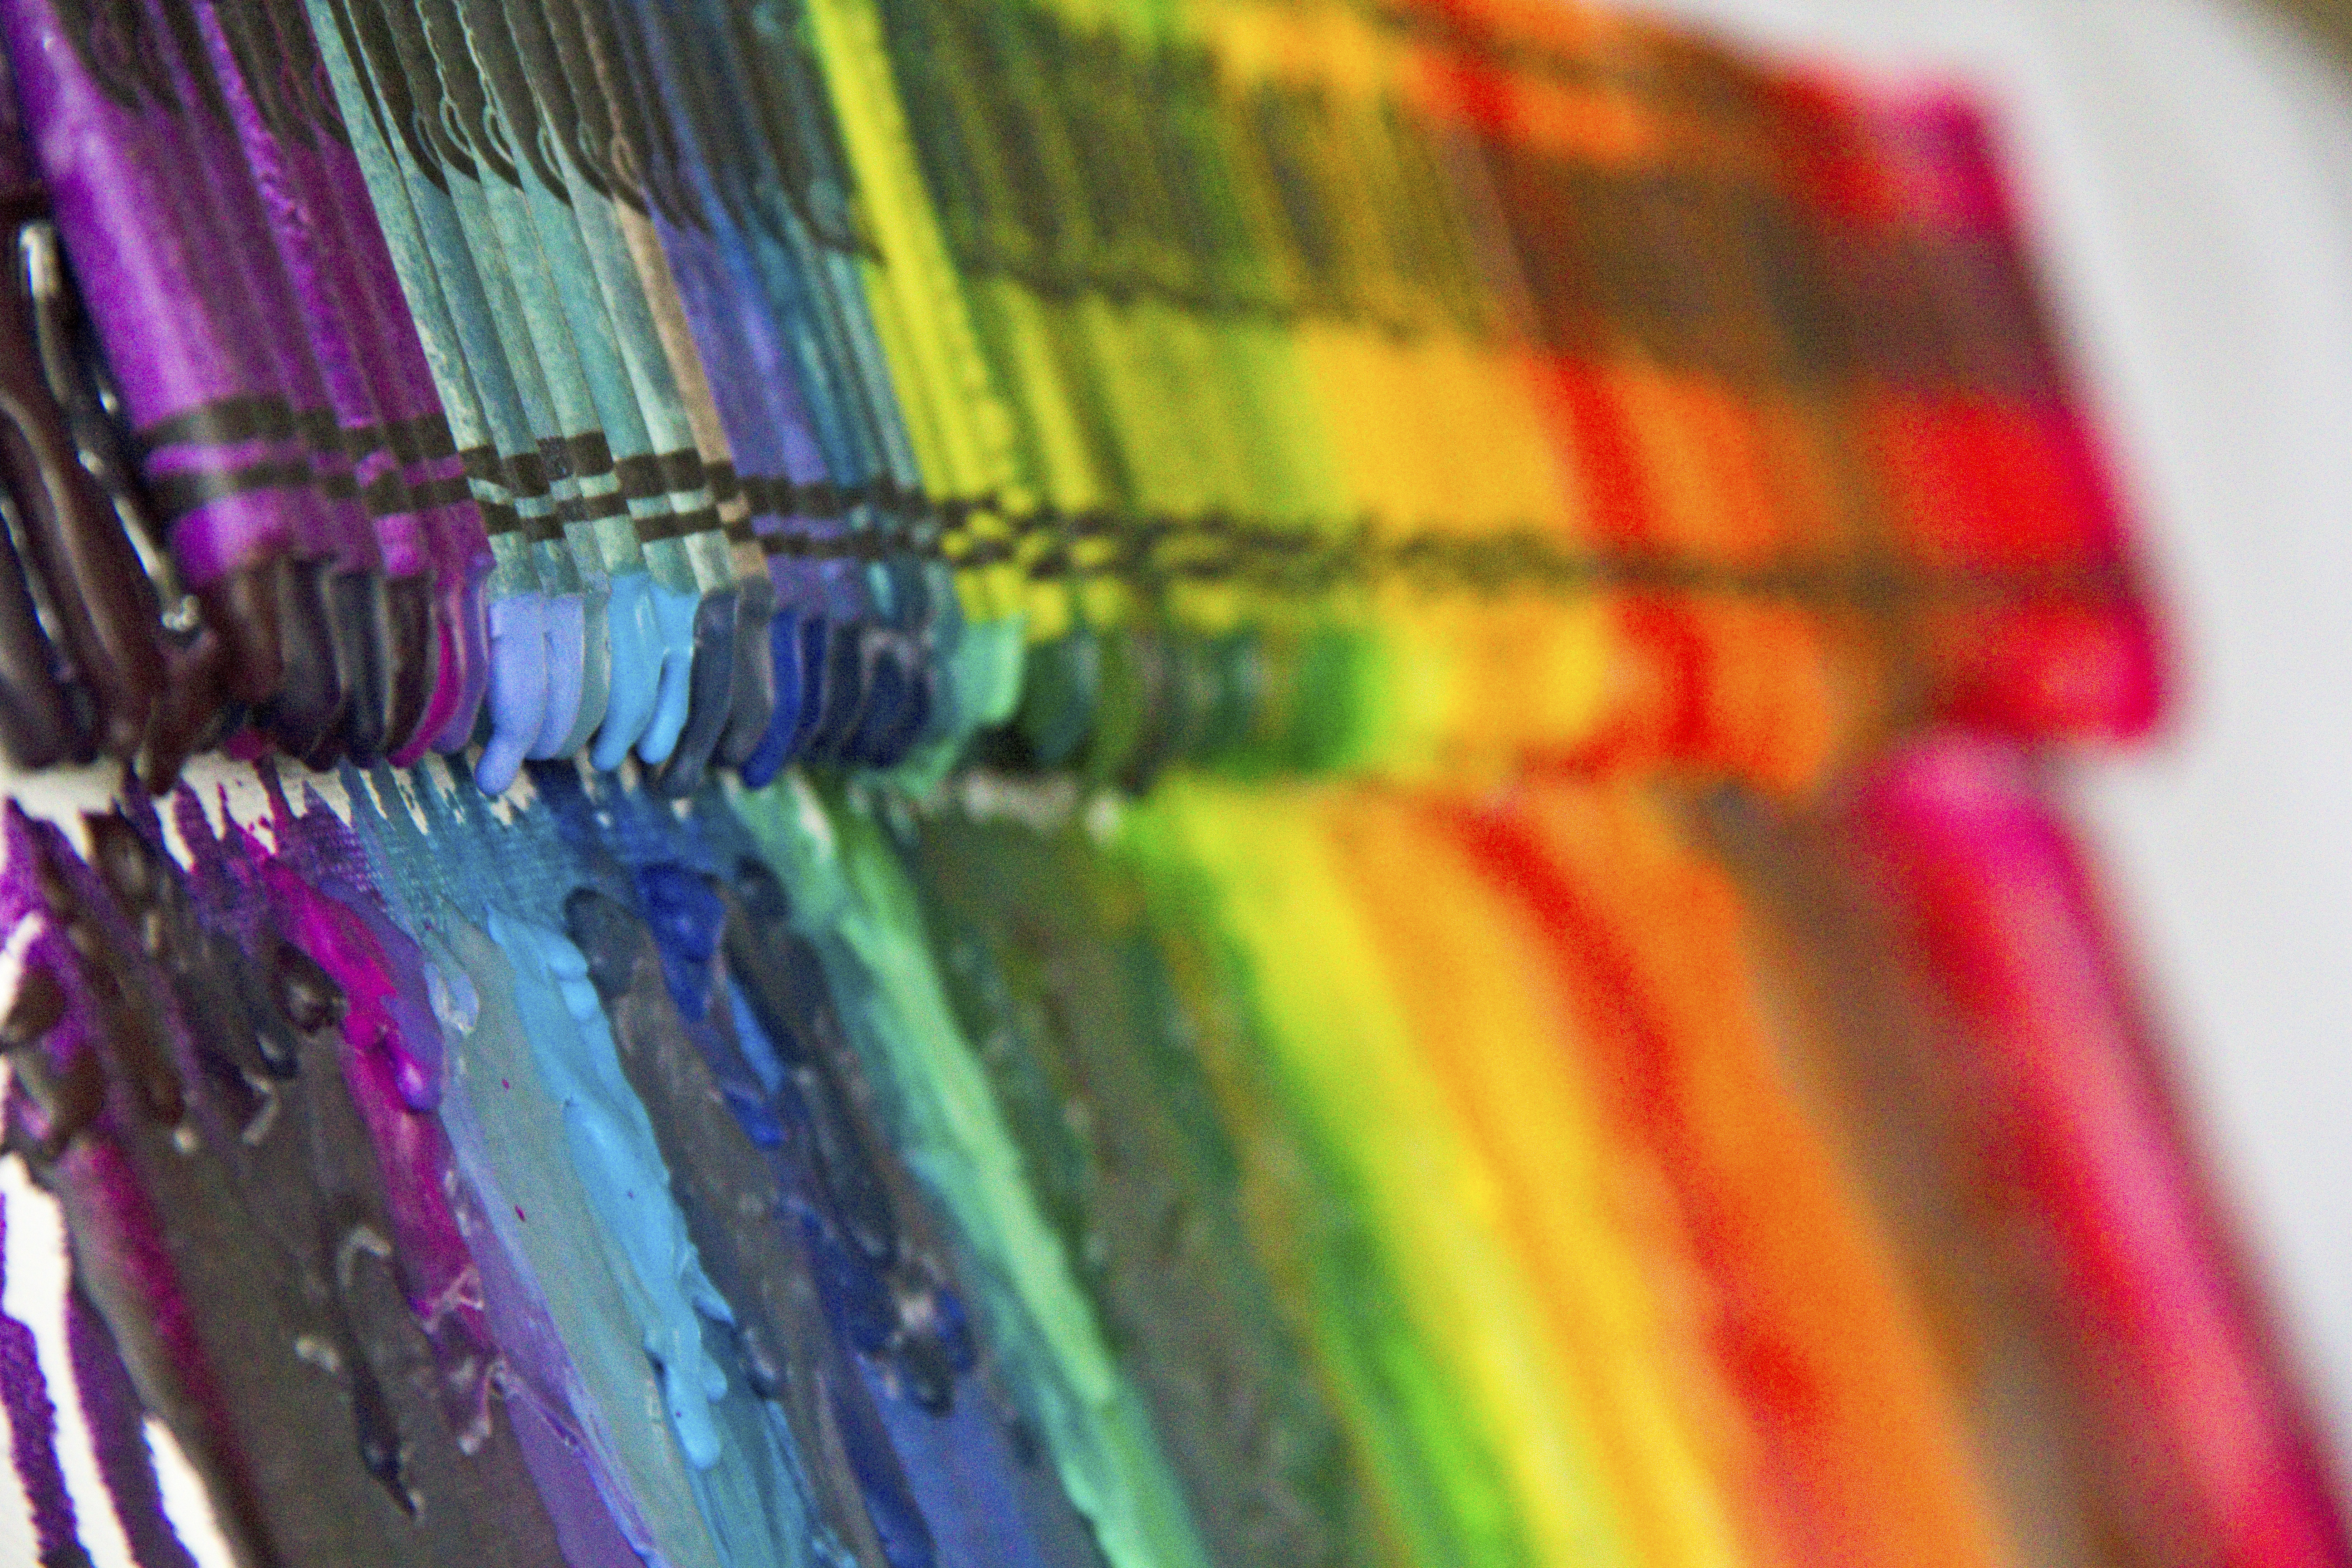
Having said that, here’s how I did it: Focus on small chunks of crayon. 3″+ off of crayons, pointed slightly downward towards the empty canvas. My goal setting out was 3 layers of decreased run, so the first layer I melted a lot so that it would run the length of the canvas. You want to try and get it as warm when it starts running as possible, because if you try to warm it lower on the canvas, it affects it’s “run style”.


This was somewhat time consuming, but a really fun project overall. I think, in the future, I would try to make sure that the space I was doing this project in was more heated (I did mine in the garage in winter), because the crayon had a tendency to not melt into the canvas and reform quickly because of the lower ambient temperature. This means that pieces of the lower runs aren’t embedded into the canvas and can break off if they get brushed too hard.
Overall, if this type of art is your style, I’d say it’s well worth the cost of canvas and crayons.