#ThisOldHouse Update: time flies when you’re having fun
I looked back recently and realized, outside of my #ArchiTalks post on #ThisOldHouse, I haven’t written about #ThisOldHouse progress in over a month! I’ve been a busy bee working on the house towards some impending deadlines I mentioned in the last progress post…I guess time flies when you’re having fun.
While the grass was busy growing, my efforts moved back inside to the full bath and the surrounding rooms that needed touching to make sure the full bath schedule stayed on track.
One of these rooms was the dining room. I knew from day 1 that the ceiling would need to come down due to a natural mold growth on the drywall ceiling, but it ended up happening sooner rather than later because of plumbing needs. The main room above the dining room will become (in the future) the master bathroom, but sections of the dining room also overlapped the full bathroom. To be able to run the plumbing from underneath (and therefore keep the nice hardwood floor in the future master bath and upstairs hallway, that meant the ceiling needed to come down.
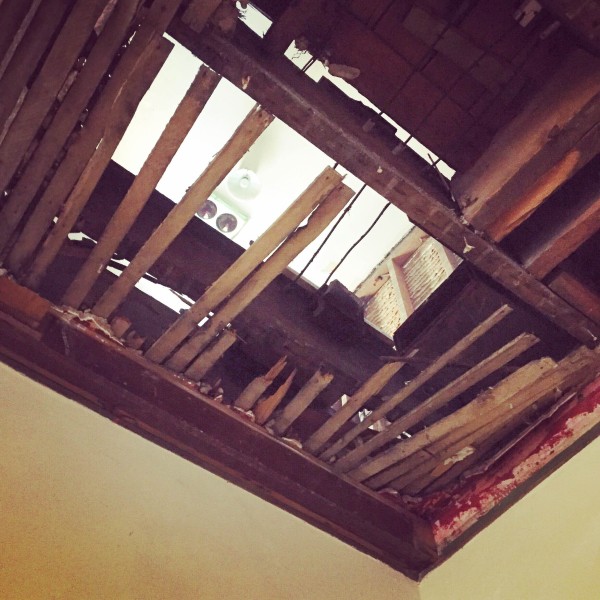
That sounds easier than it actually was. You see, over 125 years this room in #ThisOldHouse had accumulated three…yes THREE…ceilings. This is how I envision the process:
1890 – Original owner: Ahhh…the high plaster ceiling is wondrous. We will host maginificent dinner parties in this room!
1970-80 – 3rd owner (?): Plaster is dumb. I hear acoustical tile is gonna be big. Let’s glue it up over the plaster and give this room an updated look.
1980-2000 – 3rd/4th owner: Well that was idiotic. This acoustical tile looks horrible, is stained, and takes the refined historic character out of the room. Let’s cover it with drywall.
2015 – me: Alright drywall, you’re coming down…wait, uhhh…okay…acoustical tile, you are too. What the litereral?! Plaster?!? Ok, that’s going too.
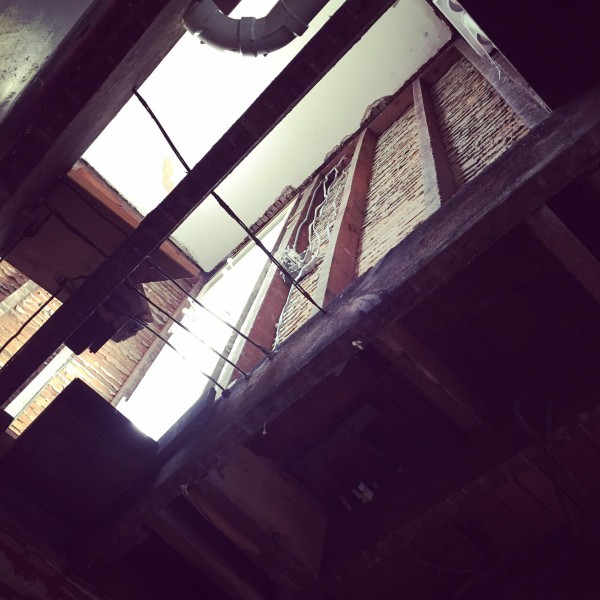
So with the help of some elves, all three layers of the ceiling came tumbling down. After the first two layers came off, we meticulously took down the crown molding and detailed millwork. Once we reached the plaster level, we made sure to lay down cardboard and drop cloths so the falling plaster wouldn’t ding, scratch, or otherwise harm the original hardwood floors.
During this process, the electrician was running the new lines to new switch and plate locations in the full bath, or simply swapping out old knob and tube wiring as they came across it. As a part of the exterior spray foam project of #ThisOldHouse, they had already replaced most of the exterior knob and tube lines, but with the dining room ceiling coming out, they could reach more of the interior lines.
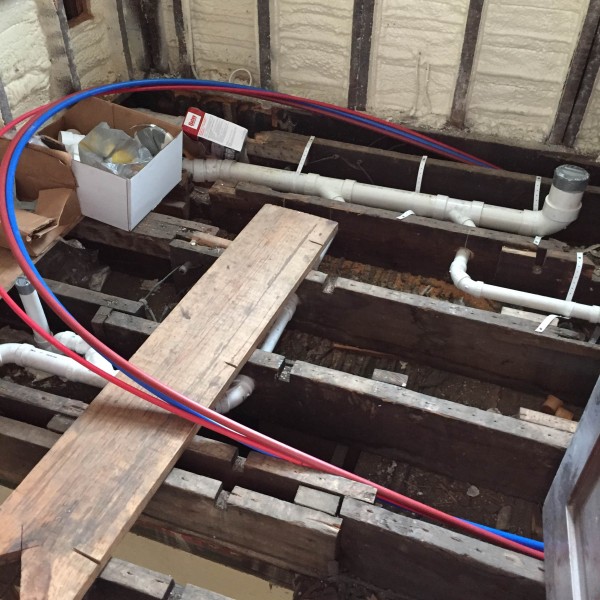
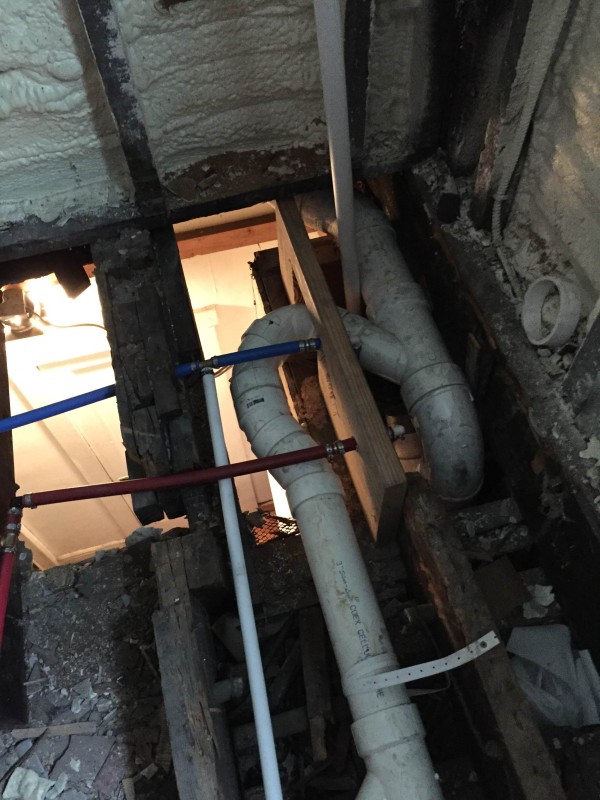
The plumber then came in to replace some of the old cast iron lines and run new PVC and PEX tubing to the locations as needed in the bathroom. There was also a sizeable amount of scabbing and added bracing that occured once we saw the state of the original floor joists. Not only is the cast iron tub going back in this bathroom, but so is a washer/dryer and 900+lbs of tile. Structural stability is important!
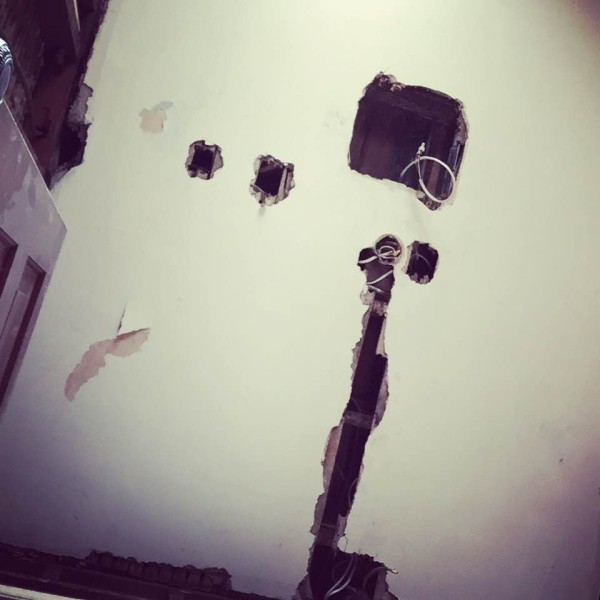
As with most renovation projects, especially those of a historic nature, it is VERY important you have contingency built into the timeline and budget. Stuff will come up. In the instance of #ThisOldHouse, we didn’t foresee the need to take down the plaster ceiling of the full bath until the electrician started running into some concerns while tracing lines. He ended up punching through the ceiling in multiple spots to be able to see even slightly more of what was happening and came to the conclusion that it needed to come down.
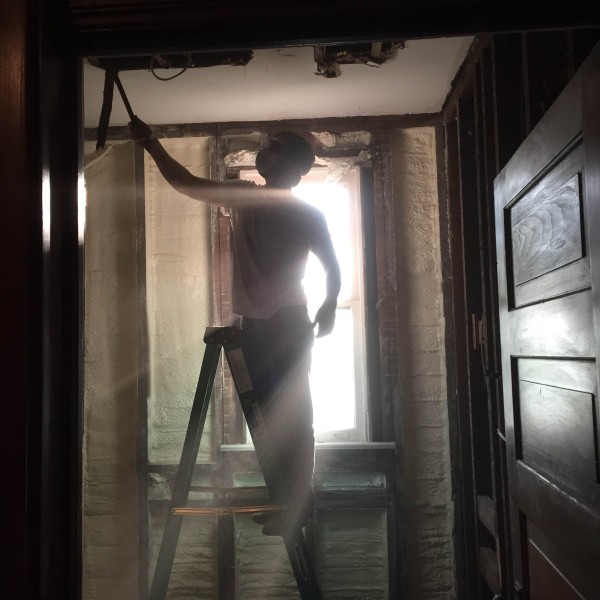
So come down it did. I luckily already had some other helper elves scheduled to come demo some of the future master bath space, making it easier to delegate one of the guys to demo-ing the bathroom ceiling instead.
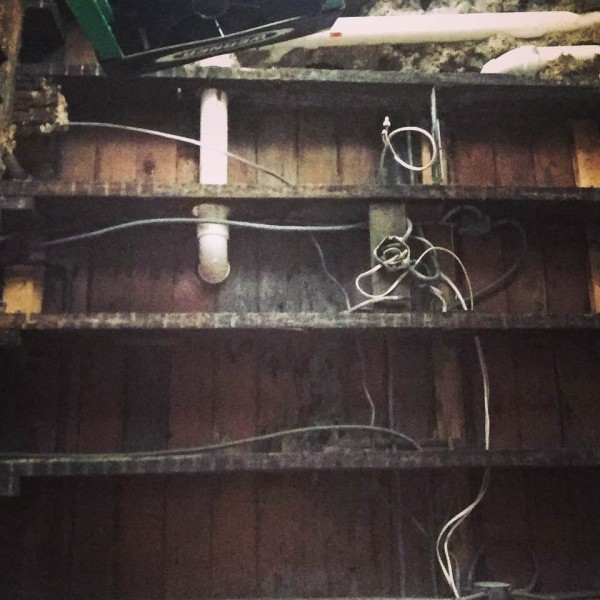
What we uncovered was a nest of open junction boxes and splices – definitely not up to code – from ghosts of renovations past. This is also why you hire an architect. Previous owners and myself are lucky that none of these scenarios caused the house to burn down. Needless to say they are all fixed now.
The bathroom floor has since been leveled and subfloor installed. The tile work starts Monday. I chose to hire a professional tiler instead of DIY like I had originally planned. While it is a kick to the budget, I won’t get frustrated with trying to learn to tile on the fly with a pattern that is not easy, and the project will stay on schedule. This is a reinforcement of the design triangle. You can have good and fast, you can have fast and cheap, sometimes good and cheap, but you can never have good, fast, and cheap.

What’s next
Monday: Concrete board install, refinishing the cast iron tub begins
Tuesday: Tile work begins
Friday: Tile work finishes, as many fixtures as possible installed
Saturday: Engagement party!
So that’s the latest for the full bath of #ThisOldHouse. The two lessons are:
- Hire an architect.
- Plan for contingency.
Until next time,